


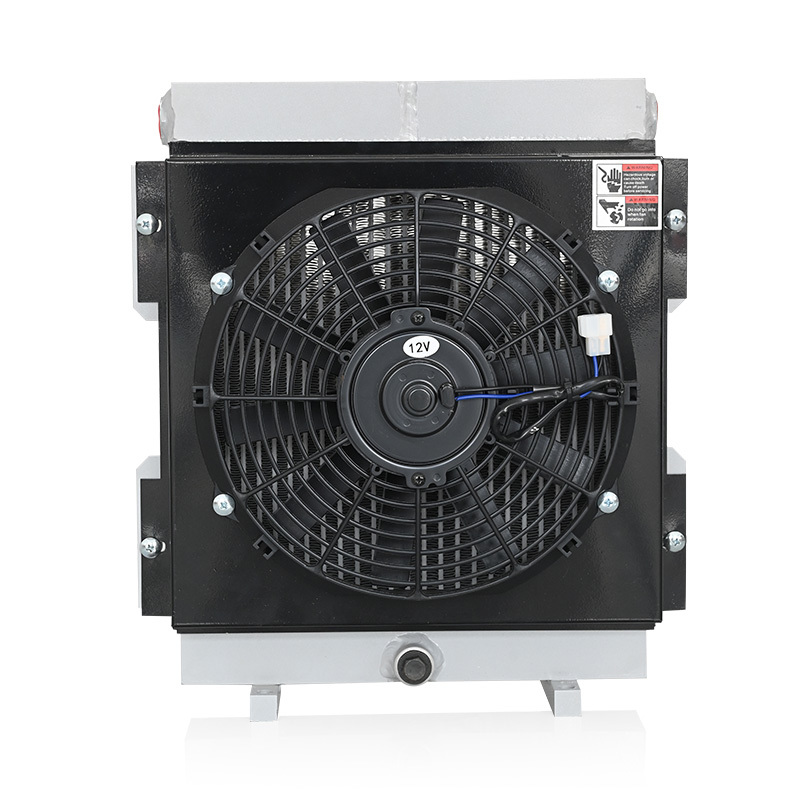

How to Install a Servo Motor Bracket: A Step-by-Step Guide for Automotive Electronics
Release Time:
May 25,2026
How to Install a Servo Motor Bracket: A Step-by-Step Guide for Automotive Electronics Table of Contents Introduction to Servo Motor Brackets Essential Tools Required for Installation Preparation Steps Before Installation The Installation Process of a Servo Motor Bracket Step 1: Gather Your Tools Step 2: Remove Existing Components Step 3: Position the Servo Motor Bra
How to Install a Servo Motor Bracket: A Step-by-Step Guide for Automotive Electronics
Table of Contents
- Introduction to Servo Motor Brackets
- Essential Tools Required for Installation
- Preparation Steps Before Installation
- The Installation Process of a Servo Motor Bracket
- Step 1: Gather Your Tools
- Step 2: Remove Existing Components
- Step 3: Position the Servo Motor Bracket
- Step 4: Secure the Bracket
- Step 5: Connect the Servo Motor
- Troubleshooting Common Installation Issues
- Post-Installation Maintenance Tips
- Conclusion
- Frequently Asked Questions
Introduction to Servo Motor Brackets
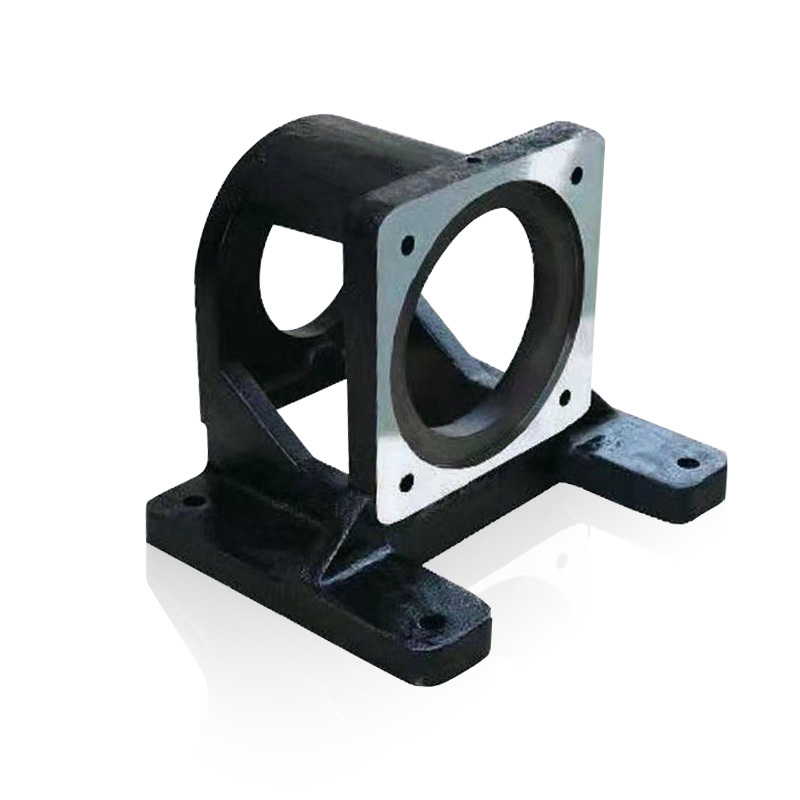
Servo motor brackets are essential components in automotive electronics, allowing for precise control and positioning of various systems within a vehicle. Whether you are upgrading your vehicle's performance or integrating new technologies, knowing how to install a servo motor bracket properly can enhance the functionality and longevity of your automotive electrical systems.
In this guide, we will walk you through the entire installation process, ensuring you have the knowledge and confidence to complete the job effectively.
Essential Tools Required for Installation
Before diving into the installation process, it's crucial to gather all the necessary tools. This will save you time and ensure that you can complete the installation without interruptions. Here is a comprehensive list of the tools you will need:
- **Screwdriver Set**: A flathead and Phillips screwdriver will be necessary to remove and secure screws.
- **Wrench Set**: A set of wrenches will help you tighten bolts and nuts effectively.
- **Drill**: If new holes are needed for mounting the bracket, a drill will be essential.
- **Measuring Tape**: Accurate measurements are crucial for proper alignment.
- **Level**: Ensures that the servo motor is mounted at the correct angle.
- **Safety Gear**: Safety glasses and gloves should be worn to protect yourself during installation.
Preparation Steps Before Installation
Preparation is key to successful installation. Here are the steps to take before you begin:
1. **Read the Manufacturer's Manual**: Familiarize yourself with the specific servo motor and bracket you are using. Each component may have unique installation requirements.
2. **Clear the Workspace**: Ensure that your workspace is clean and organized. This prevents the loss of tools and parts during the installation process.
3. **Disconnect the Battery**: For safety, disconnect the vehicle's battery to avoid any electrical hazards while you work.
4. **Inspect Existing Components**: Before removing anything, take the time to inspect existing components for wear or damage that may need to be addressed during installation.
The Installation Process of a Servo Motor Bracket
Now that you are prepared, let’s delve into the step-by-step installation process for the servo motor bracket.
Step 1: Gather Your Tools
Ensure you have all your tools and parts ready. Having everything on hand will streamline the installation and reduce downtime.
Step 2: Remove Existing Components
Begin by removing any components that might obstruct the installation of the servo motor bracket. This might include old motors, brackets, or other electronics. Use your screwdrivers and wrenches to detach these parts carefully.
Step 3: Position the Servo Motor Bracket
Once the area is cleared, take your new servo motor bracket and position it in the desired location. Use your measuring tape to ensure it is placed accurately. A level should be used to confirm that the bracket is straight.
Step 4: Secure the Bracket
With the bracket in position, use the appropriate screws or bolts to secure it to your vehicle. Make sure to tighten them adequately, but be careful not to overtighten, which could cause damage.
Step 5: Connect the Servo Motor
With the bracket securely in place, it's time to connect the servo motor. Follow the manufacturer's instructions for wiring and connections. Ensure all electrical connections are snug and secure.
Troubleshooting Common Installation Issues
Even with careful preparation, issues can arise during installation. Here are some common problems and their solutions:
- **Misalignment**: If the servo motor isn't aligning correctly, double-check your measurements and use a level to make adjustments.
- **Loose Connections**: If the motor isn't functioning properly, inspect all electrical connections to ensure they are secure.
- **Inconsistent Performance**: If you notice erratic behavior in the motor after installation, check for any software settings related to the servo or revisit the installation steps to ensure everything was done correctly.
Post-Installation Maintenance Tips
After installation, regular maintenance can help prolong the life of your servo motor bracket and its components:
1. **Regular Inspection**: Periodically check the bracket and motor for signs of wear or damage.
2. **Tighten Connections**: Ensure all screws, bolts, and electrical connections remain tight over time.
3. **Clean Components**: Keep the area around the servo motor clean to prevent dust and debris from interfering with performance.
4. **Monitor Performance**: Pay attention to how the servo motor operates. If you notice any irregularities, address them immediately to avoid further issues.
Conclusion
Installing a servo motor bracket can enhance the performance and efficiency of your vehicle's automotive electronics. By following the detailed steps outlined in this guide, you can ensure a successful installation that meets both your needs and the specifications of your vehicle. Proper tools, preparation, and maintenance are essential components of the process. As always, if you encounter any difficulties, don't hesitate to consult with a professional for assistance.
Frequently Asked Questions
1. What is the purpose of a servo motor bracket?
A servo motor bracket helps securely mount the servo motor in an optimal position for effective operation within automotive systems.
2. Can I install a servo motor bracket without prior experience?
Yes, our step-by-step guide is designed for both beginners and seasoned professionals. Just ensure you follow the instructions carefully.
3. What tools do I need for the installation?
You will need a screwdriver set, wrench set, drill, measuring tape, level, and safety gear.
4. How do I know if my servo motor is functioning properly after installation?
Monitor the motor’s performance for consistency and check for any unusual sounds or movements.
5. Is regular maintenance required after installation?
Yes, regular maintenance is crucial to ensure the longevity and efficiency of your servo motor and bracket.
Keywords:
You Can Also Learn More About Industry Trends


Specializing In The Research And Development And Sales Of Hydraulic Products


Contact Us
Phone/Whatsapp
+8613933722213 / +8613933744887
Address
No. 158, Xiaotun Automobile and Motorcycle Industrial Zone, Qinghe County, Hebei Province